Guide
camera-relay: a Linux virtual webcam with live picture adjustments
Published · Updated
Slop-o-meter: 90% of this post's text came from AI, 10% is my own words.
Slop-o-meter
This site uses AI to write a majority of the content of new posts in this series, but over time they will be rewritten in my own words and commentary. This gauge is here to be up front about the use of AI content per post. More about it in this HU-90% note
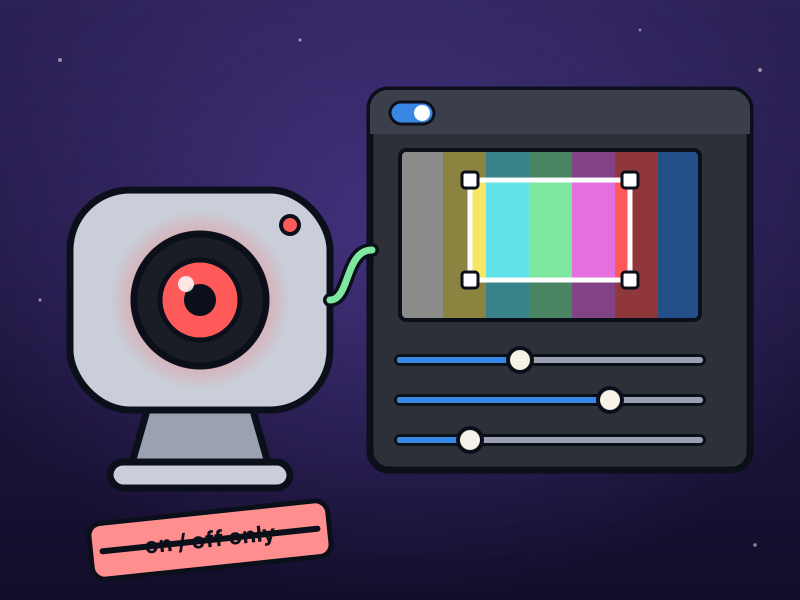
The relay from my XPS 14 webcam guide got the camera working, but it could only do one thing: turn on or off. Changing the colour meant editing a YAML file and restarting it, and the picture was grainy in office light. So I turned it into an app: camera-relay.
What changed
Section titled “What changed”It still does the same job underneath: it reads the real camera through libcamera, and offers a fixed 1280×720 picture to PipeWire as Built-in Camera. Everything the old relay had to work around is still in there.
| Old relay | camera-relay | |
|---|---|---|
| On and off | KDE menu entry, camera-relay toggle |
Tray icon (click), the settings window, or the same commands |
| Colour | Edit ov08x40.yaml, restart |
Sliders: brightness, contrast, saturation, hue, gamma. Live, even mid-call |
| Framing | Whole picture only | Crop by dragging a box, 16:9, 4:3 or 1:1, flip and rotate |
| Grain | Nothing to do about it | Clean up plugin |
| Settings per app | No | Profiles: one per app or room |
| Start on login | No | Off, the app, or the app with the camera on |
| Cameras | The ov08x40 only | libcamera or any V4L2 webcam |
| Made of | A shell script and a systemd unit | One Rust binary (GStreamer, GTK4, a ksni tray icon) |
What you need
Section titled “What you need”| Part | Notes |
|---|---|
| Linux, x86_64, with PipeWire | Ubuntu 24.04 or newer and its flavours, Debian 13, Fedora 41, Arch, openSUSE Tumbleweed. Not ARM, and not Ubuntu 22.04 or Debian 12 (GTK is too old) |
| A camera | libcamera or V4L2. On the XPS 14, do Step 2 of the old guide first, so the kernel finds the sensor |
| A tray (optional) | Built into KDE Plasma. On GNOME, the AppIndicator extension. Without one, use the settings window |
Step 1: Install
Section titled “Step 1: Install”curl -fsSL https://github.com/rj-xy/camera-relay/releases/latest/download/install.sh | bashIt puts camera-relay in ~/.local/bin and adds Camera Relay to the app menu. It checks for the GTK and GStreamer packages it needs and offers to install the missing ones with sudo. Nothing else needs root.
If the old relay from the XPS guide is installed, the installer finds it and offers to remove its service and script. It leaves the WirePlumber rule, because the new app still needs it on the XPS.
Start it from the app menu, or run camera-relay. Then open a call or webcamtests.com and pick Built-in Camera.
Step 2: On the XPS 14
Section titled “Step 2: On the XPS 14”The defaults are for this laptop: capture at 2560×1440 (the binned mode crashes) with the ov08x40 colour tuning. Two files from the old guide are still needed. If the old relay was installed, they’re already in place. If not:
curl -fsSL --create-dirs -o ~/.config/camera-relay/ov08x40.yaml \ https://blog.jacq.cc/xps-14-webcam/ov08x40.yamlcurl -fsSL --create-dirs -o ~/.config/wireplumber/wireplumber.conf.d/51-camera-relay.conf \ https://blog.jacq.cc/xps-14-webcam/51-camera-relay.confsystemctl --user restart wireplumberThe WirePlumber rule hides PipeWire’s own libcamera camera (the one that crashes) and the 32 raw ipu7 devices. Brave and Edge also still need their PipeWire camera option: old guide, Step 6.
For any other camera, edit ~/.config/camera-relay/config.toml, then quit and start the app again:
[camera]source = "libcamera" # or "v4l2" for a plain USB webcamdevice = "" # empty: the first camera; or a libcamera name, or /dev/video0 for v4l2capture_width = 0 # 0: the camera picks its sizecapture_height = 0tuning_file = "" # the default file is for the ov08x40 onlysource = "test" shows a test pattern, so you can try the app without a camera. All the screenshots here are of that.
Step 3: Fix the picture
Section titled “Step 3: Fix the picture”Settings… in the tray menu, or camera-relay settings, opens the window. The switch at the top left turns the camera on or off, and the preview on the right shows what the call sees.
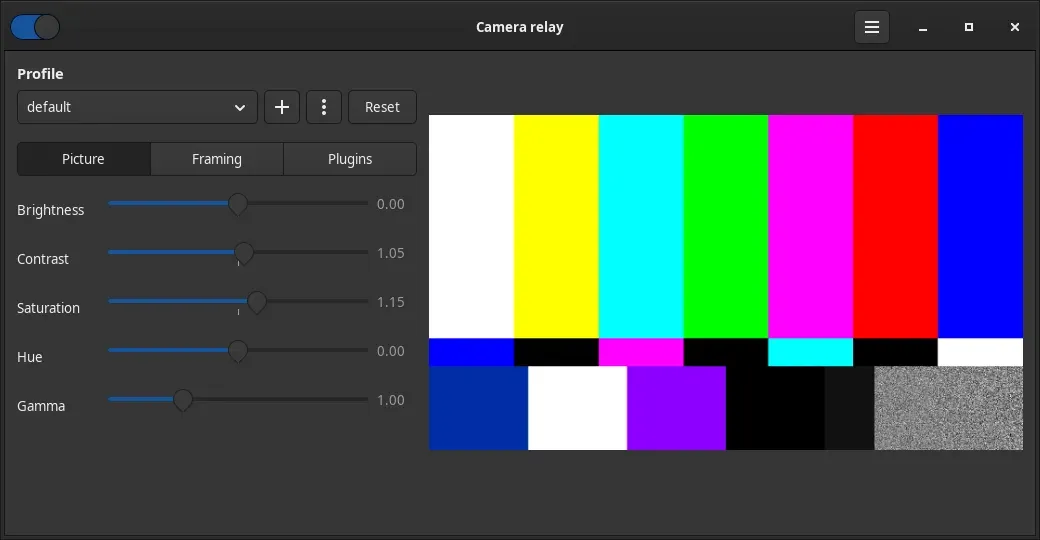
The Picture tab has brightness, contrast, saturation, hue and gamma. They change the picture straight away, with no restart and no flicker, so I can fix it in the middle of a call. Reset puts everything back to neutral.
The old ov08x40.yaml tuning still does the colour cast. The sliders go on top of it.
Step 4: Crop
Section titled “Step 4: Crop”On the Framing tab, pick the shape (16:9, 4:3 or 1:1), click Select area and drag a box on the preview. Drag inside it to move it, or a corner to resize it.
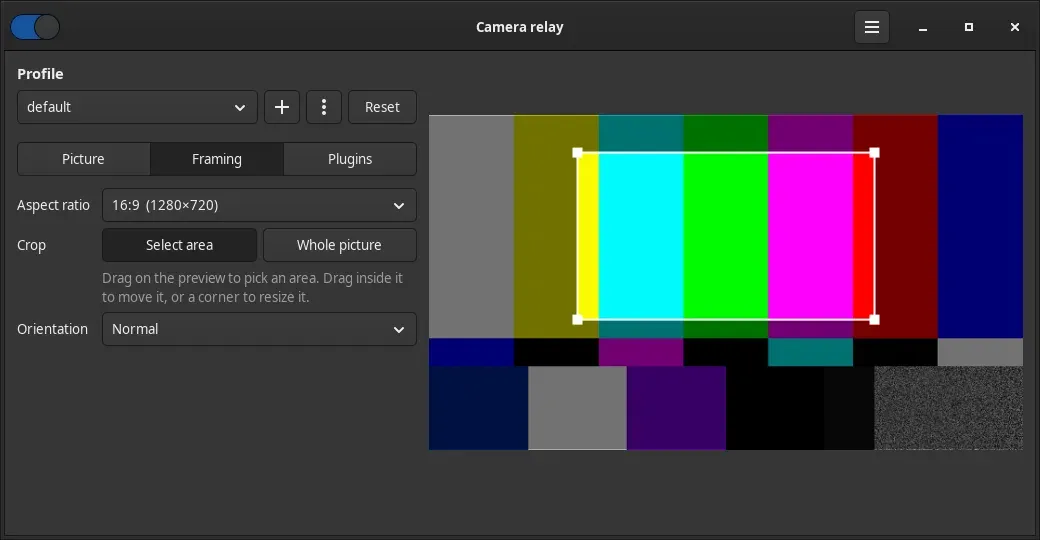
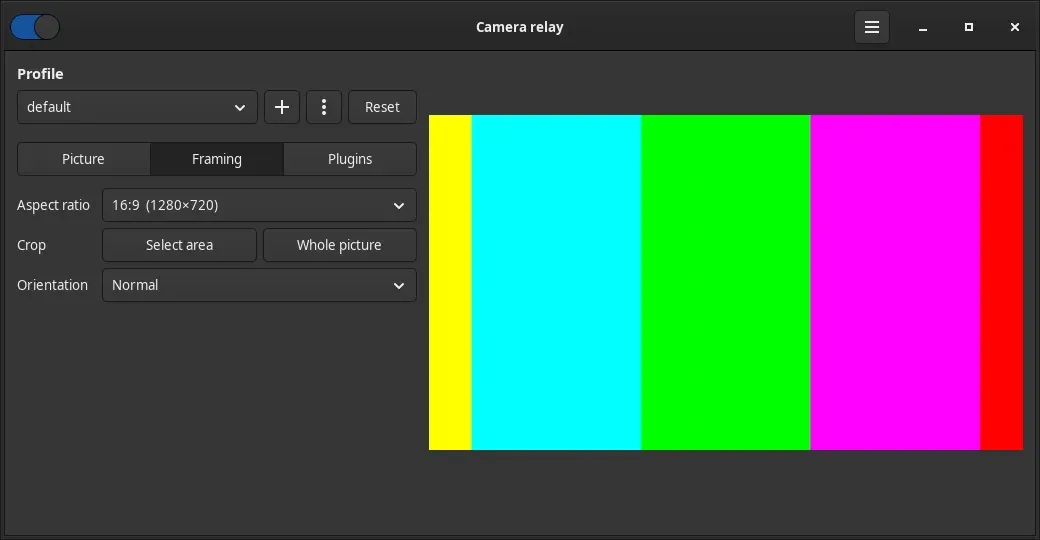
The crop happens before the scaling, so a small area keeps its detail. Whole picture undoes it. The same tab flips and rotates the picture.
Each shape still gives one fixed size (1280×720, 960×720 or 720×720). Brave and Edge skip a camera that only lists size ranges, which was the big lesson from the old relay.
Step 5: Clean up the grain
Section titled “Step 5: Clean up the grain”The Plugins tab has two built in:
- Clean up: takes the grain out of a dark picture. Parts that don’t move are averaged over a few frames, and movement shows straight away
- Soften: a gentle blur on the brightness only, for smoother skin. Colour stays sharp
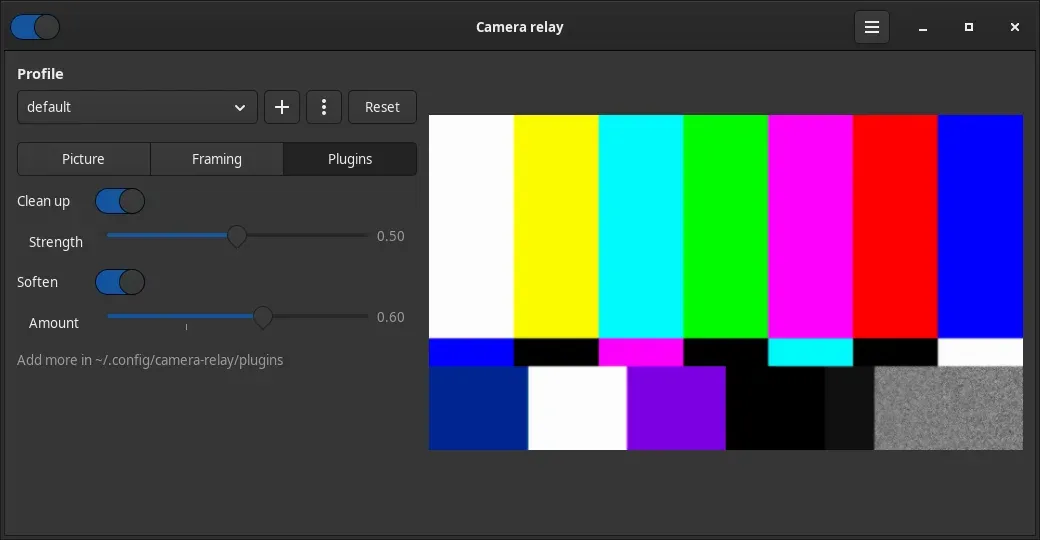
Turning a plugin on or off restarts the camera for about a second. The sliders don’t.
A plugin is a folder in ~/.config/camera-relay/plugins/ with a plugin.toml: a GStreamer pipeline and the sliders to show for it. The repo has an example that makes the picture look like old film: docs/plugins.md.
Step 6: Profiles, tray and command line
Section titled “Step 6: Profiles, tray and command line”A profile keeps its own picture, crop and plugins: one for Teams, one for the dim office, and so on. + next to the profile picker makes a new one as a copy of the current one.
The tray icon is a webcam with a grey eye when it’s off, and a red eye when it’s on. Left click turns it on or off. Right click has Camera on, Profile ▸, Settings… and Quit.
Everything works from the command line too, so it can go on a keyboard shortcut:
camera-relay toggle # on or off (starts the app if it isn't running)camera-relay profile teams # switch profile; a new name copies the current onecamera-relay set brightness 0.1 # one setting, live, and savedcamera-relay set plugins cleanup # plugins, in ordercamera-relay status # on or off, the profile and its settingscamera-relay autostart camera # start on login with the camera on (off, app, camera)Settings are plain TOML in ~/.config/camera-relay/, saved on every change. Logs: journalctl -t camera-relay -f.
Update and uninstall
Section titled “Update and uninstall”camera-relay update # the latest release, checked against its SHA-256; restart the app afterTo remove it:
camera-relay autostart offrm ~/.local/bin/camera-relay ~/.local/share/applications/camera-relay.desktoprm -r ~/.config/camera-relay # your settings and profiles, if you want them gone tooSources
Section titled “Sources”- camera-relay on GitHub: the code, the architecture and why Rust
- Release 0.1.0
- The webcam on a Dell XPS 14 (Panther Lake) under Kubuntu 26.04: the bring-up and the first, on or off relay
Change history
- : First published.
This guide as plain Markdown, for LLMs and scripts: camera-relay-linux-virtual-webcam.md. All posts: API and Markdown.
Text, photos and drawings: CC BY 4.0. Code: MIT. Share and adapt them, crediting HomeLab Series (blog.jacq.cc). Licence and terms of use ·Privacy policy (no cookies, no tracking) ·AI on this blog